Friday 26 April 2013

Dinosaurs On Parade!

I teach in a town where there is a huge Dinosaur Museum, and they are a really Big THING. As such, I've got a lot of kids who are REALLY in to them. So last November, we spent a month learning all about the Dinos! FYI: Brontosaurus no longer exists, and dinosaur names can be ridiculously hard to pronounce. It's even better when you're corrected by a 5 year-old on said pronunciation.


We started out by creating a "Dinosaur" Alphabet. I used this activity on PBS from the show Dinosaur train. We watched the above video, and then made our own alphabet in which I took the pictures from the website and drew them bigger on a piece of paper (with the help of my lovely sister!) . Each student colored in a page, and then we got to that letter in the song, they had to lift their page above their heads. I first put them up on the board and I later made it into a dinosaur book for our classroom!
 

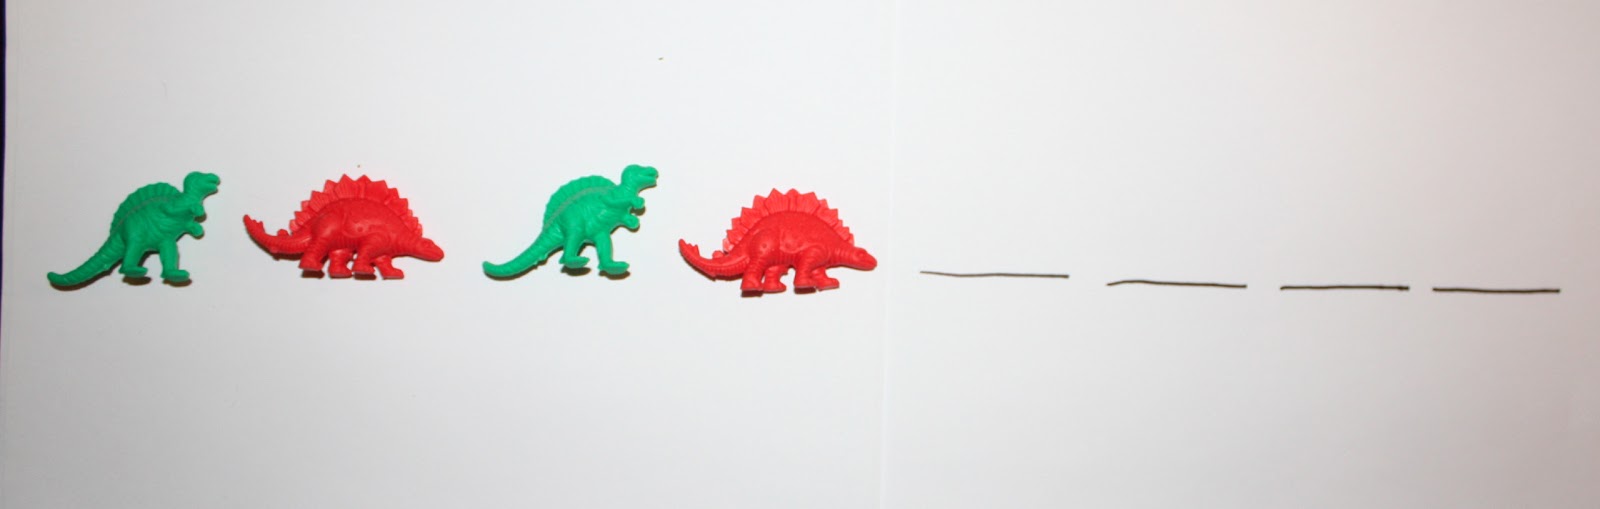
At the time we were working on patterns. I have a kit of small different colored plastic dinosaurs ao I then took some home and took some pictures to make up some pattern cards: 

They then used the actual dinosaur manipulatives to complete the patterns and then went on to create some of their own. I used this as one of variety of centers that also included matching dinosaur models to molds, a color word activity and some great dinosaur puzzles supplied by my EA.

I found this great activity on a blog somewhere but I can't for the life of me remember where I got it! I found some rough estimates of the size of some dinosaur's feet and then made a life size model out of construction paper and laminated them. We then measured them using our shoes! They took them off (with lots of giggles about stinky feet!) and we recorded how many fit on each feet. It gave them a great idea of relative size. We also all laid down head to toe and we were about the same length as a T-Rex!


Another one of my favorite activities that we did during this unit was an art project in which we created our own dinosaur skeletons. As drawing the bones or bodies would be a little too hard for some of the little ones in November, I drew a few different dinosaur skeletons (T-Rex, Stegosaurus, Triceratops, Pterodactyl and Apatosaurus). I then cut them up by tails, bodies, front legs, arms/back legs, necks and heads. I then photocopied enough that each table could have a variety of bones to choose from (each part had to be from a different dino) . They then cut them out, and arranged them to look like a dinosaur on some black construction paper. After they glued them down I helped them come up with some names for their dinosaurs (some of which were hilarious)! Here are the bone pages I made and the final products:


             Rib Cages                                          Back Legs
                 Front Legs                                             Necks


                     Tails                                                Heads


Tuesday 16 April 2013

The Penguin Plunge!


Back in January, my class spent the month learning all about one of my favorite animals, Penguins! The kids were really into it as well. And one of the great things about penguins is all the awesome resources and books out there on the subject!

To start out our unit, I did some pre-assessment to determine what my students already knew and what they would like to learn. We began by doing a "Can, Have, Are" chart. The students told me what they knew about penguins  and I wrote it on a post-it note (correct or not - quite a few of them thought penguins might be fish!).  Then we decided if that was something penguins did, have or are. At the end of the unit, we went back and had a look to see if our ideas about penguins were right.
Our class spent time learning about 5 different types of penguins : Rockhopper, Emperor, Chinstrap, Fairy and African. We did a variety of activities on these species. We used life-size posters to learn about how big they are and compared their sizes using snap cubes to place them in order from biggest to smallest!  The Emperor was almost the same size as some of them and they all loved the cute Little Blue/Fairy Penguin best!


We then looked at the globe and learned about where penguins live and a bit about maps. My sister had bought a bucket of mini-happy feet penguin figures and they worked perfect (with a bit of tweaking to make them fit our species)! I had a flat map of the world, and the students helped me place the figures where those species lived. They then completed a worksheet where they glued pictures of our 5 types onto a map. It helped familiarize them with continents and the southern hemisphere especially.


I found a series of books about "Tacky the Penguin" by Helen Lester. There was even a great App for some of the books thru the Apple Store! After we read about Tacky (who is a very odd bird) we created our own "tacky" penguins, whose sweaters had drawings of things that were special about them. They also created an pattern on the scarf around their penguins neck! We hit a bunch of outcomes with this one. I traced the large penguin outline for the kids on black construction paper, and then photocopied the white part. It took us about 2 afternoons to complete.

We also did this GREAT experiment found on Pinterest, in which children learn how penguins stay warm in the cold cold water. We talked particularly about Emperor penguins, and how they have both blubber and that their feathers create a water proof layer. First they dunked their fingers in "naked" in some ice water and counted how long they could keep it in. Then they tried with Vaseline to act as blubber, and finally a rubber finger cover over both to simulate feathers. It was amazing how much longer the two allowed them to keep their fingers in!

As January can be a long and boring month, I made sure we had some other fun art projects to do to brighten up our days as well. We used plasticine to make these adorable penguin sculptures - all made by making simple shapes and sticking them together. They even made little "ice floats" for their penguins to sit on in the display. It was also interesting to see how different they all turned out!


We also did some finger painting to make these "landscape" paintings, which we also used to take about the weather in the antarctic and what it would be like to live in winter all the time. The trick to this activity was to start with the black and to have lots of wet-naps for them to wipe their fingers off on!

On the last day, we had a "Penguin Party"and watched Happy Feet (and yelling out when we saw a penguin species we knew!) and made "sushi" out of fruit roll ups, Rice Krispy squares (the pre-made ones), red licorice and Swedish fish candy. The kids simply roll out the fruit roll up, squish the Rice Krispy out to cover it, and then place the licorice in the middle. You then roll it up and cut it into three pieces and then they place the fish on top. It was a big HIT!